Make A Third Person Controller With Three.js In Rogue Engine
In this tutorial I’m going to show you how to create a third person controller using Rogue Engine. As you may already know, Rogue Engine is a Unity-like environment for three.js.
It makes it super easy to create web games and apps that run on any device with a modern browser.
This is a text version of a video tutorial, so if that’s your kind of thing you can watch it here:
There’s also a short version, which I recommend you watch anyway to give you an idea of what we’ll be creating.
Play a live version of the result here.
Initial Setup
Before we begin, make sure you’ve installed the latest version of Rogue Engine.
I’m starting from an empty project so, we’ll begin by downloading a couple of packages.
Head to the marketplace in the upper right corner of the editor or press alt+M or option+M and look for Rogue Rapier. This is an integration for the super fast WASM Rapier Physics engine. Go ahead and install that.
We’ll also need the Rogue Animator package. This will provide us with a component that’ll simplify our workflow with animations. Let’s go ahead and install this one as well.
After installing them, you’ll find them both in the rogue_packages folder.
Now we’ll save the scene with ctrl+S. We need to give it a name, I’ll just call it Test.
Don’t forget to save often!!
Setting Up The Scene
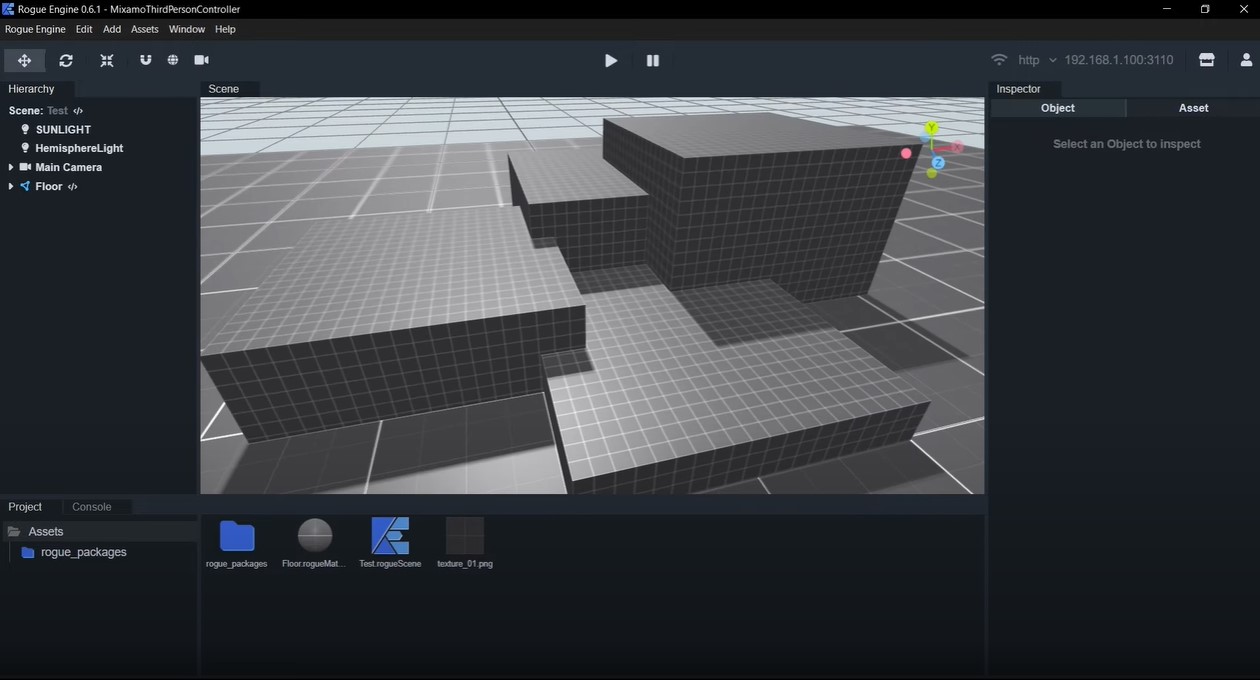
Now we need to create an environment for our player to walk on. I’ll be using one of these prototyping textures by Kenney. He’s got some great free assets so make sure you leave him a donation if you can afford it.
After you’ve downloaded and extracted the images on your computer, you can right click on the icon view, click on Import Asset, and navigate to its location. I’ll be using the first one in the package.
Now we need to set up the physics engine. Select the Scene object in the hierarchy. Hit A and look for the RapierConfig component. Click on it to add it to the Scene object. This will start the physics engine in our Scene when we hit play.
Next, we’ll select the cube, then select its material in the inspector and we’ll give it a name. I’ll call it Floor. Now click on Save Material. This will create a material asset we can add textures to and reuse in other objects.
Select it to inspect it, then drag the image we’ve downloaded and drop it on the map field of the material.
Now, before we configure the texture, I’ll set the roughness of the material to 0.5 and the metalness to 0.3
Now click on the map texture field to inspect it, and we’ll set the colorSpace to sRGBColorSpace and the minFilter to LinearMipmapLinearFilter. This will make our texture look smoother and with a more appropriate tone.
Next we’ll set the repeat to 10 on both the x and y axes.
There are a few other things we can do to improve the look of our scene.
Go to the hierarchy and select the scene. Then expand the Renderer settings. There we’ll set the toneMapping to LinearToneMapping, the toneMappingExposure to 1.5 to make it brighter, and finally the shadowMap.type to PCFSoftShadowMap. This will give us much smoother shadows.
Now expand the Skybox settings and there we’ll set the inclination to 0.2, so that we get shorter shadows.
Next we’ll select the cube, and scale it by 100 on both the x and z axes. Then, set the position on y to -0.5 so that our floor’s surface is at 0.
Now we’ll right click on the hierarchy and add a Group object and call it Floor. Drag the default cube and drop it in our Floor group to make it its child.
Next we’ll select the Floor group, and hit A to add a component and search for RapierBody. This will create a Rigidbody on our Floor. We’ll add it and then set its type to fixed.
We need to add a collider to our cube now, so go ahead and select it again, and add a RapierCuboid component. This collider will be picked by the nearest parent Rigidbody. In this case, the Floor.
Next it’s time to add a few elements to the scene, so we’ll duplicate the cube with ctrl+D or cmd+D and scale it down to 10 on all axes
We’ll move it around a bit and keep duplicating and positioning elements to create a few obstacles to test the controller.
You’ll notice that shadows seem to be cutting out, so let’s select to the SUNLIGHT in the hierarchy, this is a Directional Light controlled by the skybox, and there we’ll expand the shadow by setting the left to -50, the right to 50, the top to 50 and the bottom to -50. Then we’ll set the mapSize to 2048 on both axes.
Now we can finally start with the fun part.
Adding The Third Person Character
Let’s add the third person character. Hit alt+A or option+A to open the AssetManager and find the ThirdPersonCharacter prefab. This is included with the Rapier Physics package. Go ahead and drag it, then drop it on your scene.
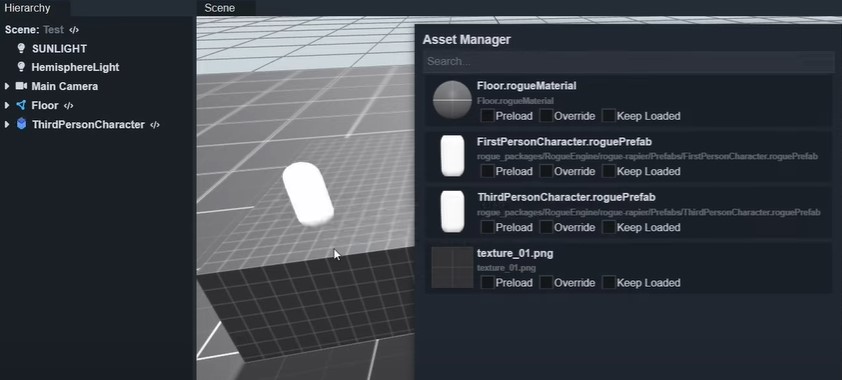
the camera offset to 1.5 on Y and 2 on Z to pull it closer to the player
Hit play to test it. You can move with WASD and Mouse or a gamepad.
We’re gonna be modifying this object so before we do anything, we’ll duplicate it with ctrl+D or cmd+D to create a copy that is detached from the original prefab.
Delete the original prefab instance.
The Player Model
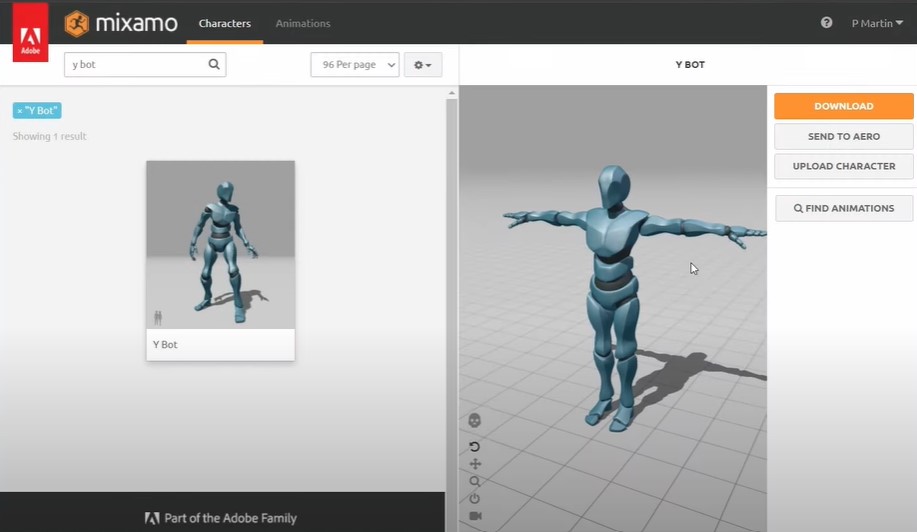
This is all great but we need an actual model now, so we’ll head to mixamo.com. Mixamo provides a fantastic library of animations and characters that you can freely use in your games.
I’ll use the search box to look for the Y Bot character, then I’ll select it and hit download. We need to download it as an Fbx for Unity, to use it in Rogue Engine. You can download it straight into the Assets folder.
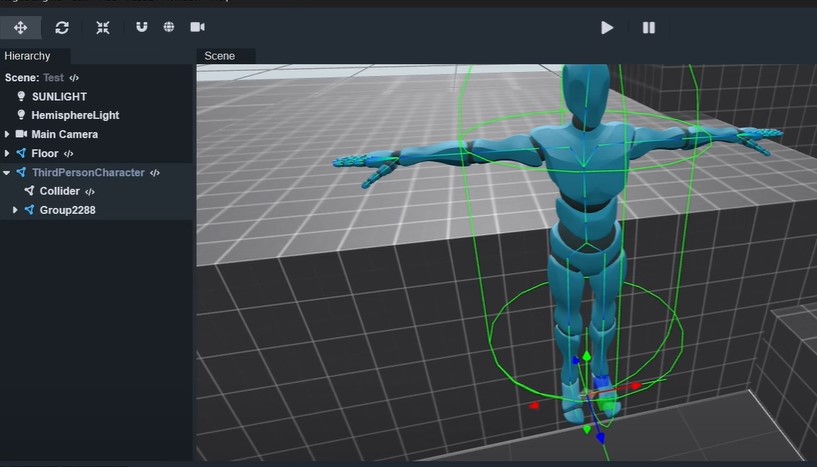
We can now delete the capsule geometry and replace it with our new model. For this simply drag and drop the Y Bot fbx file on top of the ThirdPersonCharacter object.
Animations
Next let’s go back to the Mixamo website and in the Animations section we’ll start by searching for Running. Select one and before downloading it, make sure that in-place is selected.
We’ll download it as an Fbx for Unity as well but we’re not including the model, we just want the animation, so select the option Without Skin. I’ll leave the rest at 30 frames and no compression.
We’ll need to repeat the process with the Idle animation. Make sure that you use a standing straight idle for best results.
And we’ll also be using this Falling animation.
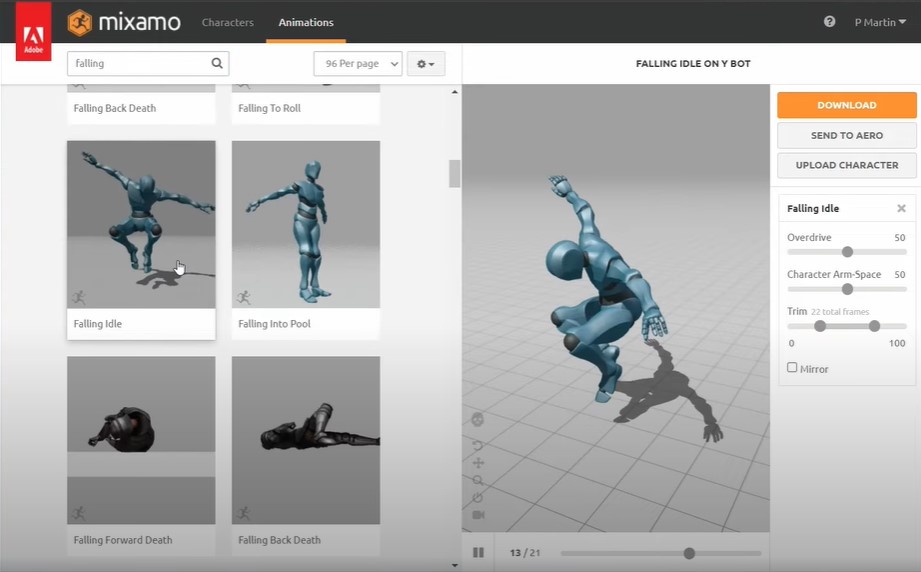
After you’ve added them to your project, right click on the files and hit “Get Animations”. This will create the corresponding rogueAnimation assets so we can go ahead and delete the fbx files.
Now we need to animate our model so, select the root object and you’ll notice that it has two components, a RapierKinematicCharacterController and a RapierThirdPersonController. You can play with the settings to customize it, but for this tutorial we’ll just go to the RapierThirdPersonController and let’s set the camera offset to 1.5 on Y and 2 on Z to pull it closer to the player.
Now go ahead and hit A to add the RogueAnimator component.
Then, expand the clips list and use the + button to add three fields.
Then click on the keys labels to rename them.
We’ll call them, idle, run, and falling.
Next, we’ll proceed to drag and drop our animation files in their corresponding field.
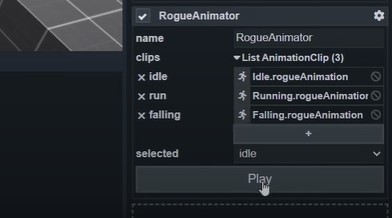
You can test animations by selecting them from the dropdown and hitting play.
This component is simply setting up our animations so that we can easily control them from a script.
PlayerController
So go ahead and right-click on the icon view, go to Assets, then Component, to create a component.
We’ll call it, PlayerController. Wait for the editor to compile and then we can drag and drop it bellow the RogueAnimator.
Now, open your project folder in your code editor of choice, in my case, VSCode.
Make sure you open the project folder and not just the Assets folder.
Next we’ll look for our PlayerController script in the Assets folder, open it and here we’ll start by deleting the awake and start methods, as we won’t be needing those. Then we’ll proceed to do the following:
import RogueAnimator from '@RE/RogueEngine/rogue-animator/RogueAnimator.re';
import RapierKinematicCharacterController from '@RE/RogueEngine/rogue-rapier/Components/RapierKinematicCharacterController.re';
import * as RE from 'rogue-engine';

@RE.registerComponent
export default class PlayerController extends RE.Component {
  // Get the Kinematic Controller in this object.
  @RapierKinematicCharacterController.require()
  controller: RapierKinematicCharacterController;

  // Get The RogueAnimator in this object.
  @RogueAnimator.require()
  animator: RogueAnimator;

  // Runs every frame.
  update() {
    // We check if we're grounded.
    if (this.controller.isGrounded) {
      // Get the amount we moved from the controller.
      const dirLength = this.controller.movementDirection.length();
      // If we moved
      if (dirLength > 0) {
        // We set the base animation to "idle" so that we're always mixing from it.
        this.animator.setBaseAction("idle");
        // Mix the "run" animation with 0.1 transition speed adn pass dirLength
        // as the weight, so that we can control it with an analog stick.
        this.animator.mix("run", 0.1, dirLength);
      }
      else {
        // If we're not moving, we idle.
        this.animator.mix("idle");
      }
    } else {
      // If we're not grounded, we're falling
      this.animator.mix("falling");
    }
  }
}
Now we can head back to the editor, hit play and voilá! We have an animated character controller.
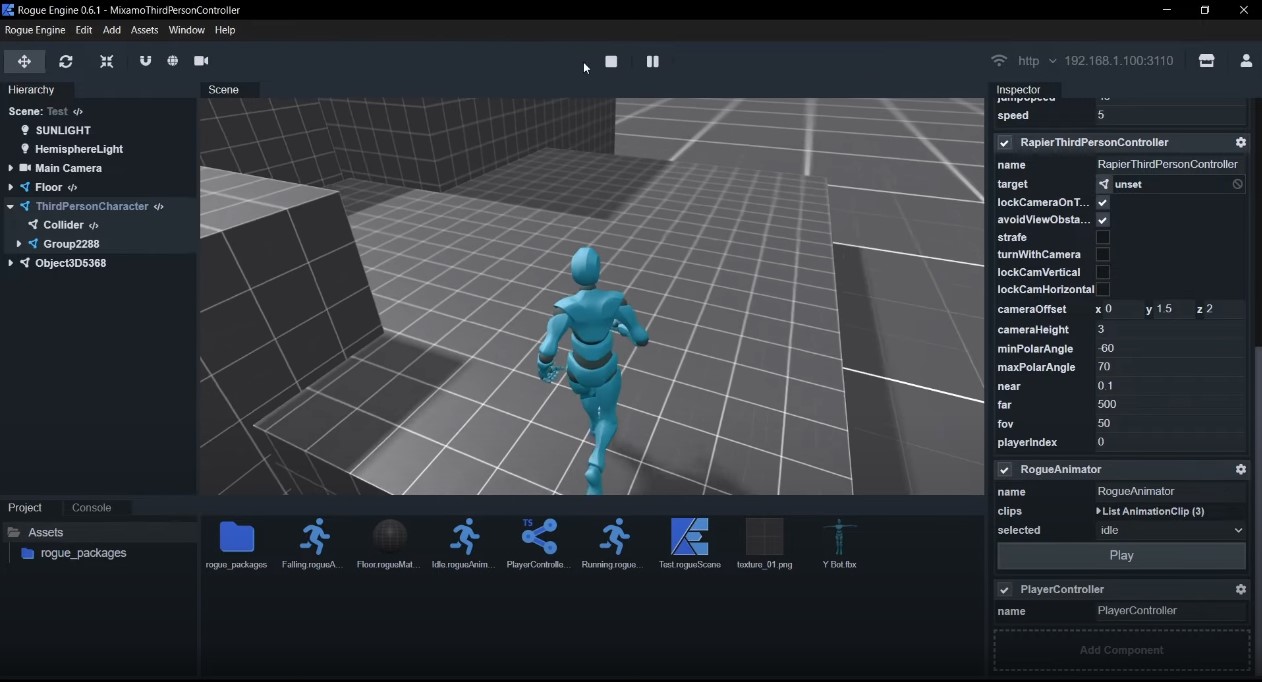
How easy was that?
It took a lot longer to download assets and set up our scene than actually making the animated controller.
The End
I hope you’ve enjoyed this tutorial. In the next one, I’ll show you how to easily turn this into a multiplayer game. if you’re stuck or have any questions, join our Discord where I can provide more dedicated support.
Also, don’t forget to follow me in X for more content!
Chau chau 🧉